The process of design
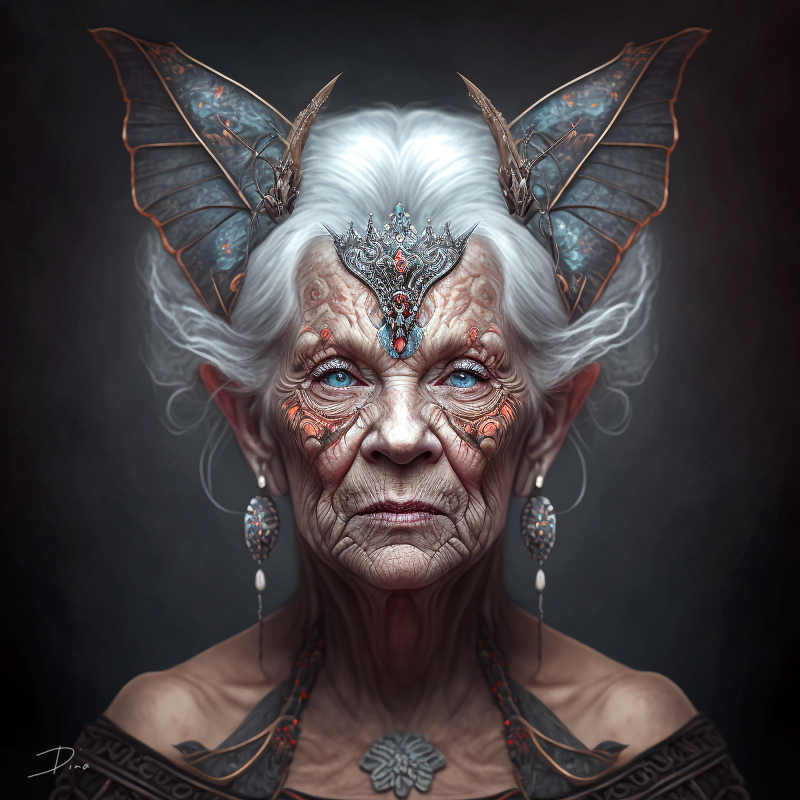
When planning a sculpt, I start with an inspirational flash of something intriguing, challenging and in context to my current series of works. After finishing Madame S. Caterpillar I wanted a create a friend who was modern and eclectic to match her.
Hence the idea for Abika Ladibird came to me. Inspired by the a childhood favorite ladybird beetle and the challenge of designing a model-esque woman with multiple insect arms plus using the vivid color of orange came to mind!
Here is how I moved from concept to creation …
Always the artist, Dina
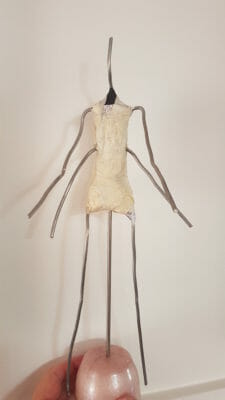
Sometimes I start with a drawing, other times with the frame – like I did with Abika.
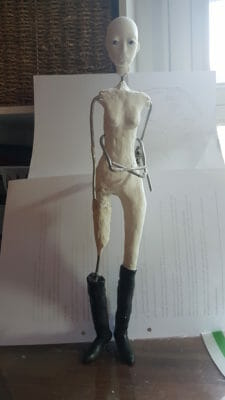
I make the head separately and stick it on periodically to see how the rest is shaping up. Slowly I build up the body and stance, very rough at first. In this case her boots are made with a stronger apoxy clay as I wanted Abika to be freestanding. Her leg was 5mm to long too get a perfect posture so I needed some bone surgery to reduce it .. well worth the effort!
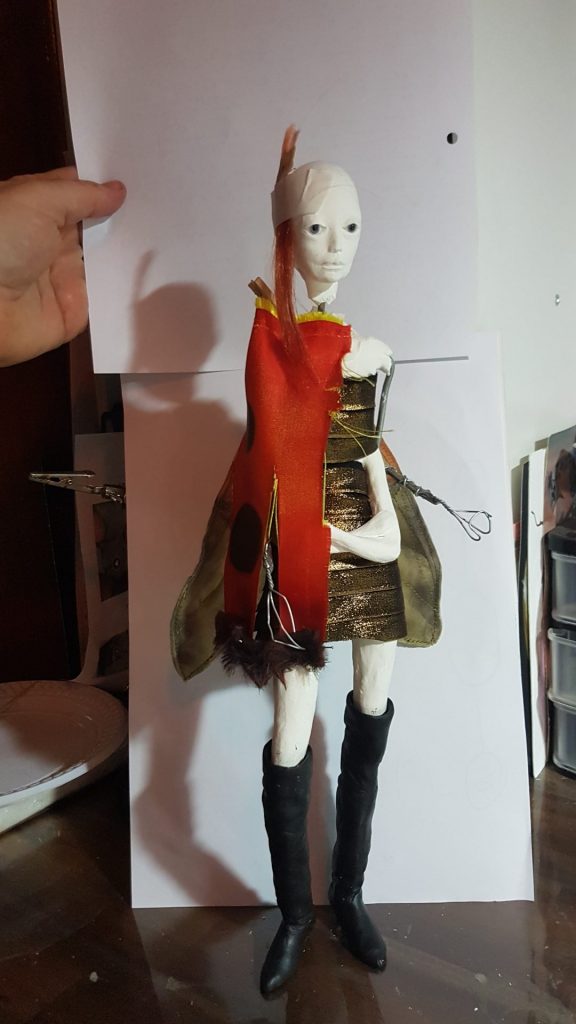
I am always testing colors, fabrics, hair choices along the way. Especially important was miniskirt and poncho lengths.
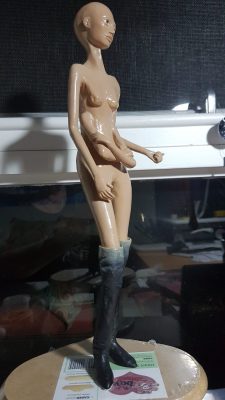
I bought an mini air compressor a few months ago, best thing I did to get a great all over skin-tone. Here she is finished and dried waiting for her subtle pastel blushing. This darker caramel tone was a hard blend to get right – doubt I could ever repeat it!
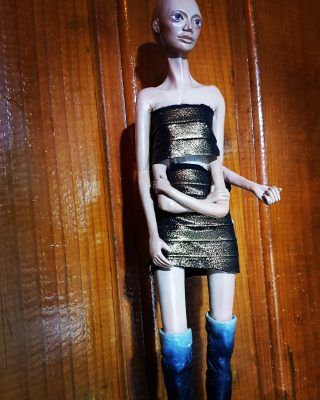
Finally her body blushing goes on over the skintone to give her face some life, always testing with fabric swatches. I dont finish the stronger touches on nails, eyelashes and eyebrows until nearly finished.
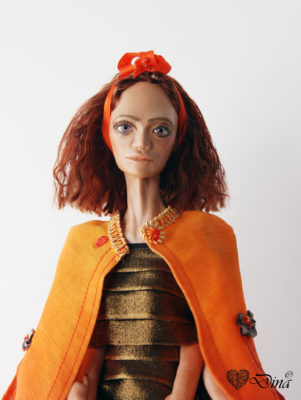
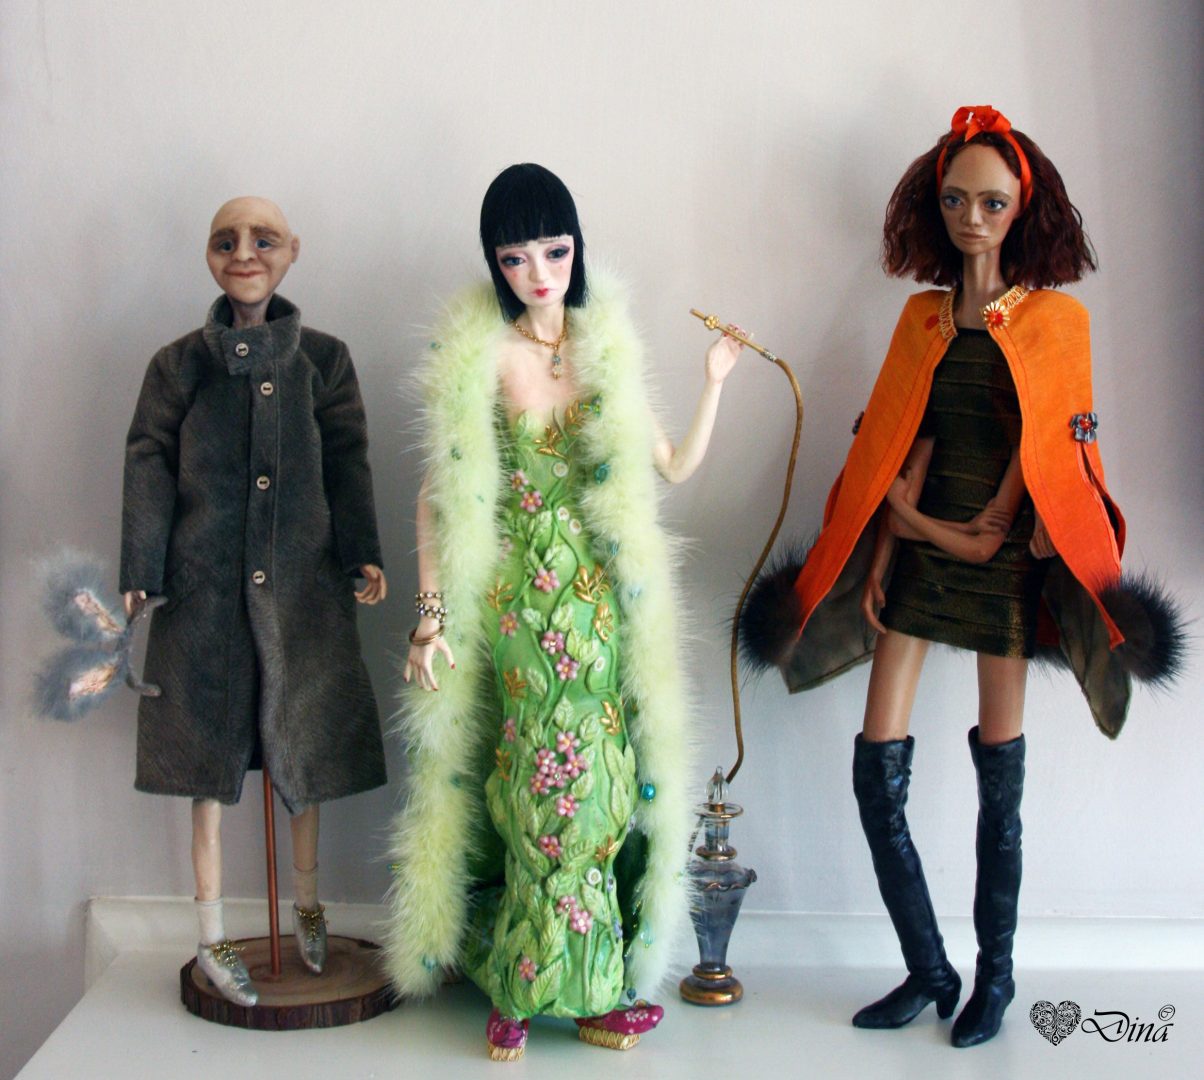
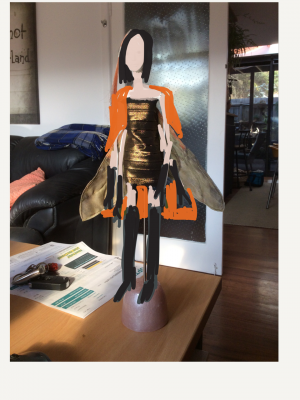
I didnt take many wip pics while making her clothes, it was a slow trial and error process. Selecting the final hair choice and style was very challenging too, I am delighted with the finished product though.

However for all my dolls I use a proportions chart printed to the finished size.
I use digital images and overlay them in Photoshop to calculate scale. I used the rough armature image, a ladybird beetle, legs in boots, and a female anatomy image all at once. This works out approximate lengths for each sub component like wings, boots height, arms length, torso and arms positions.
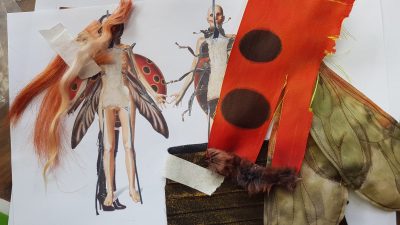
I am pulling together swatches of different fabrics, furs, and hair types and colors. At this stage I was planning red hair as seen by the saran and mohair swatches on the left. I was unhappy with coloring faux fur so needed to find something more suitable and had already made the organza under wings on the far right.
Another tool I use is on my ipad, a drawing app where I take a photo and then sketch all over it, playing with color, shapes, sizes etc. I still have a sample of red hair taped to the head but decided a short brown crop may be better; plus I was still thinking gloves at this stage.
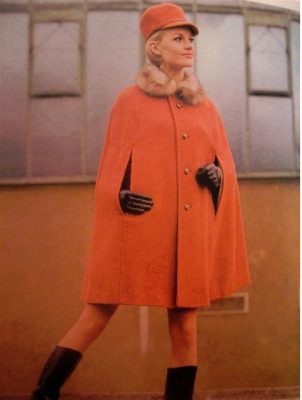
There are plenty of inspirational photos out there to use as your source material.
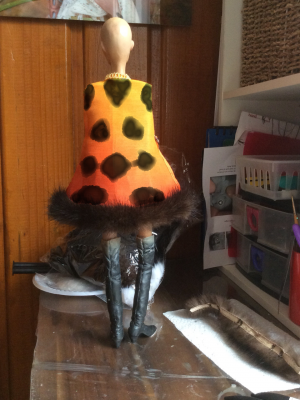
Meanwhile Abika’s orange cape is coming along. I decided to hand color my own silk blend to get the graduation in tone and found some mink fur trim. Again back on the ipad to sketch in where I will position the ladybird dots.
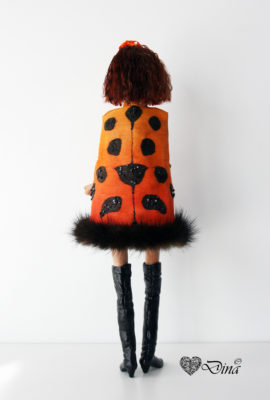
Finally cape .. not very happy with my black dots at all 🙁 but everything else is awesome!