I have gradually been building the stamina to restart my sculpting. It has been nearly a 7 year sabbatical away from the studio with some minor dalliances in making mini furniture for my blossoming ball-joint-doll collection. However this miniature bug has appealed to me in so many ways .. no studio required, its all neat and desk-top, plus I can chip away slowly while I work on the daily paid grind!
So mini sculpting has arrived to my home.
I spent considerable time researching our friend YouTube for techniques and reading articles from my favorite sculptors such as Forest Rogers and Ellen Jewett (plus many others). I decided on a selection of desk top clay and sculpting mediums for me to try, the short list included polyclay, airdry clay and apoxie clay, with armature, to create my first mixed media miniature sculptural form. The outcome was fairly close to the vision – a hybrid RabbitMan with an eccentric twist, somewhat part of the interactive doll genre, and using mixed clay mediums. Overall a few technical flaws but I am super successful happy with the finished sculpt 🙂
Mr RabbitMan has an aluminium armature with a crushed alfoil core in the head and body. His eyes are 6mm glass, his head is Kato Polyclay, his body and legs are Premier airdray clay, his arms and shoes are Apoxie sculpt. Going forward I wouldn’t use such a broad combination of materials but it was a useful quick guide for myself regarding material choice for future projects.
For other artists out there, my synopsis on each of these clays are as follows:
WARNING – MALE NUDITY FOLLOWS
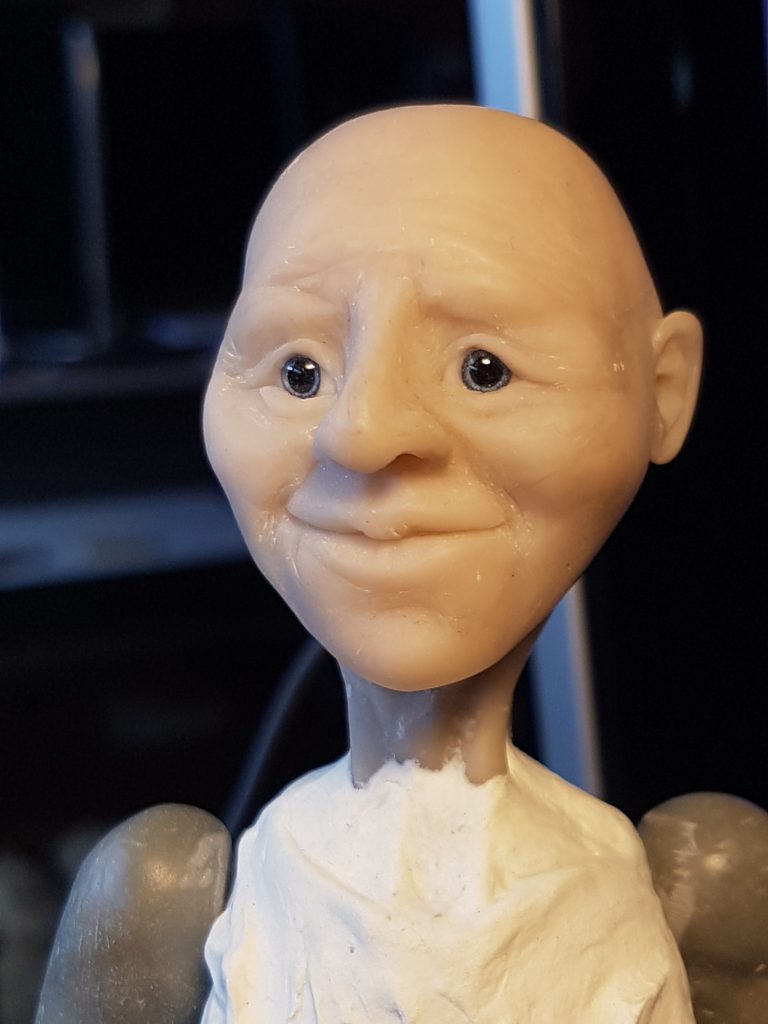
Kato Polyclay – used a combination of 50% flesh tone and 50% translucent. This created a beautiful glowing natural skin color which you could never repeat using painted finishes. When I did attempt using paint for the face-up it totally ruined the natural flesh effect so I had to remove the paint painfully slowly and revert to pastel powders. I hated preparing the polyclay, it needed to be blended and smoothed, but once ready I loved working with it endlessly to create this lovely gently face. The polyclay was super easy to smooth, push, change and play, with no concerns of drying. It does get dirty from your hand though which spoils the effect a bit.
I carefully baked by Kato polyclay in the oven as per the instructions and in a bed of baking powder, then let him slowly cool. I noticed over a period of a week a fine crack-line appeared around his neck, I’m not sure if it was the proximity of the clay to the armature which super heats, or if I had some flexing in the armature after baking as I worked his body up. Hard to say, but a useful lesson learned along the way.
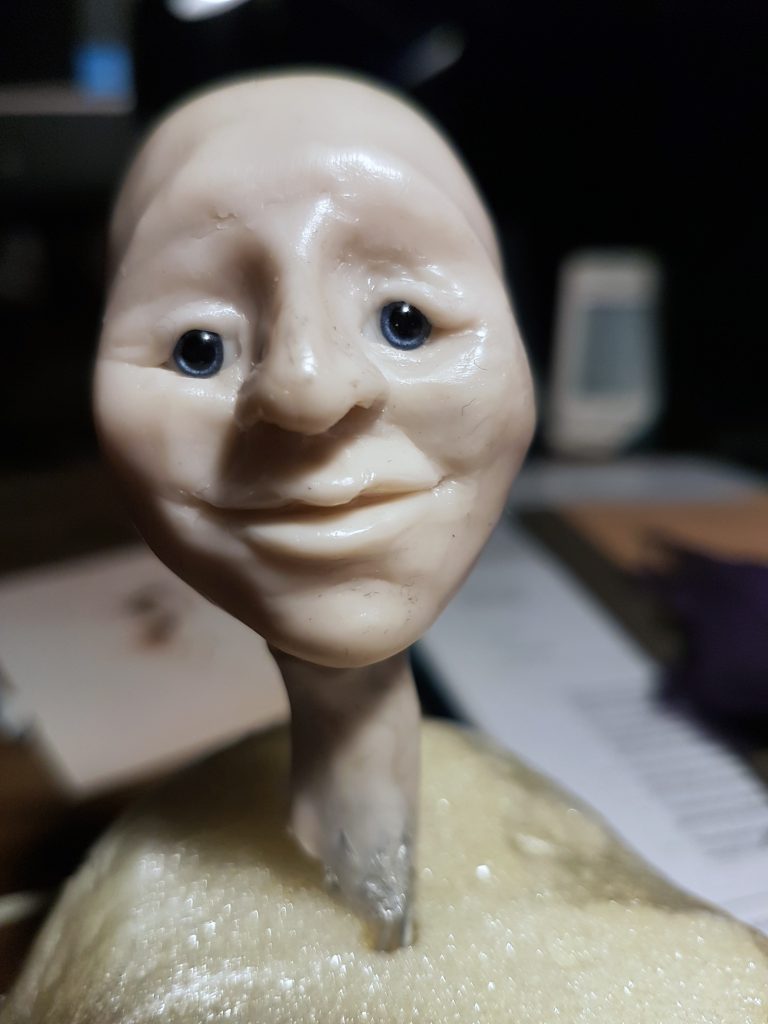
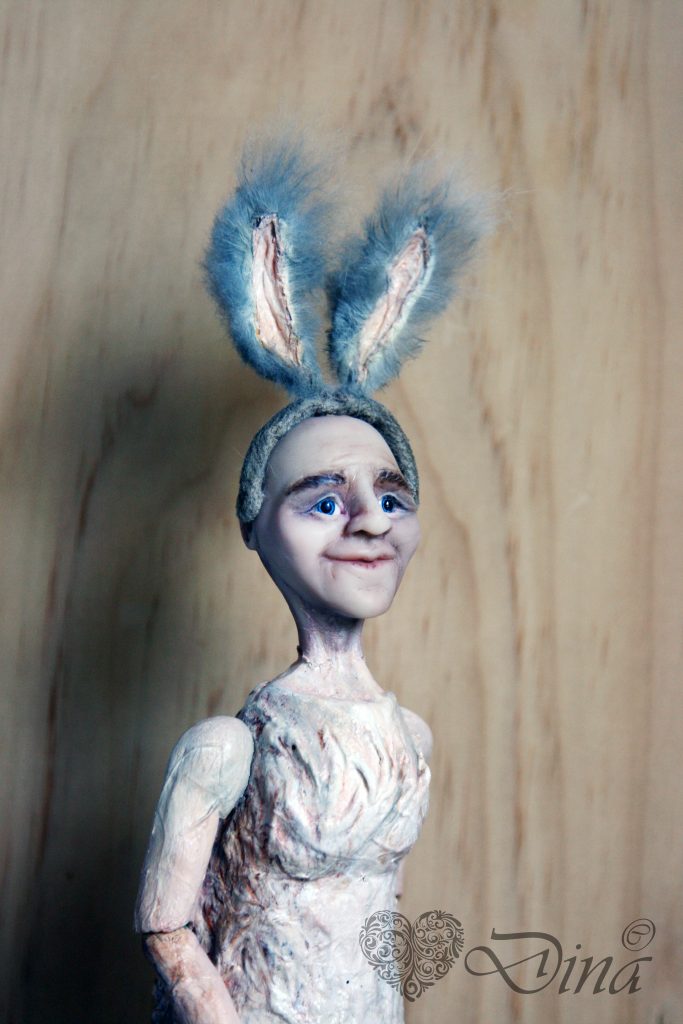
Rough head in Kato polyclay with glass eyes
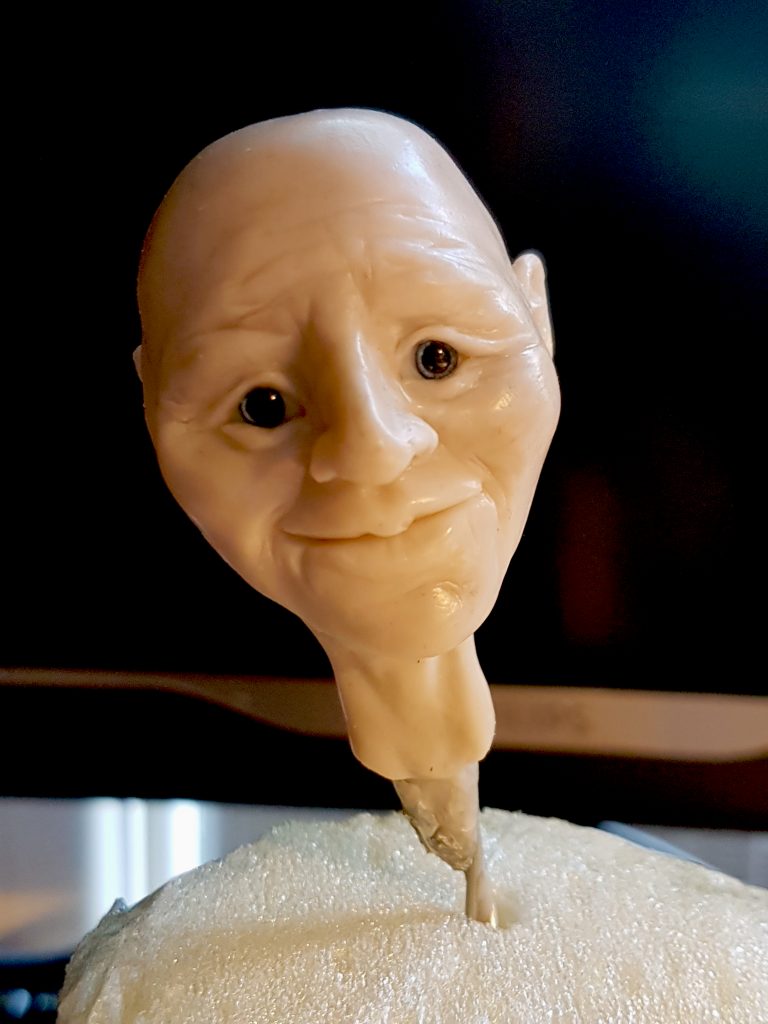
Finished and baked Kato polyclay head
Premier Airdry clay – since I used this after making the head, it was a shock to the hands the immense difference in work-ability to the polyclay and from my very familiar experiences with apoxie clay. Soft, squishy and very hard to control, I was ready to give up. Bit more research and I realised the trick is in layering and drying, slowly building up the bodywork you desire. Once I had the rhythm down pat I was super impressed! I loved the whole loose wet-like movements I could achieve and by adding more water to get more mush .. anything became possible. It drys super quick and I decided to use the airdry clay for my first ever miniature hands with wire armature fingers. Using mushy clay with gradual building up, it was fun but a way too lengthy process and not one I will repeat.
Eventually I got to a stage where I could cut and grind off anything I didn’t like, wet it and rebuild up again. Adding new components later was super easy and best of all it gave me immense flexibility to alter my sculpture over time. Airdry clay is like a paper-mache fibrous material, it is very light weight and needs good sealing once done. I wouldn’t consider it a durable material for handling and it’s more appropriate for decorative rather than robust play objects.
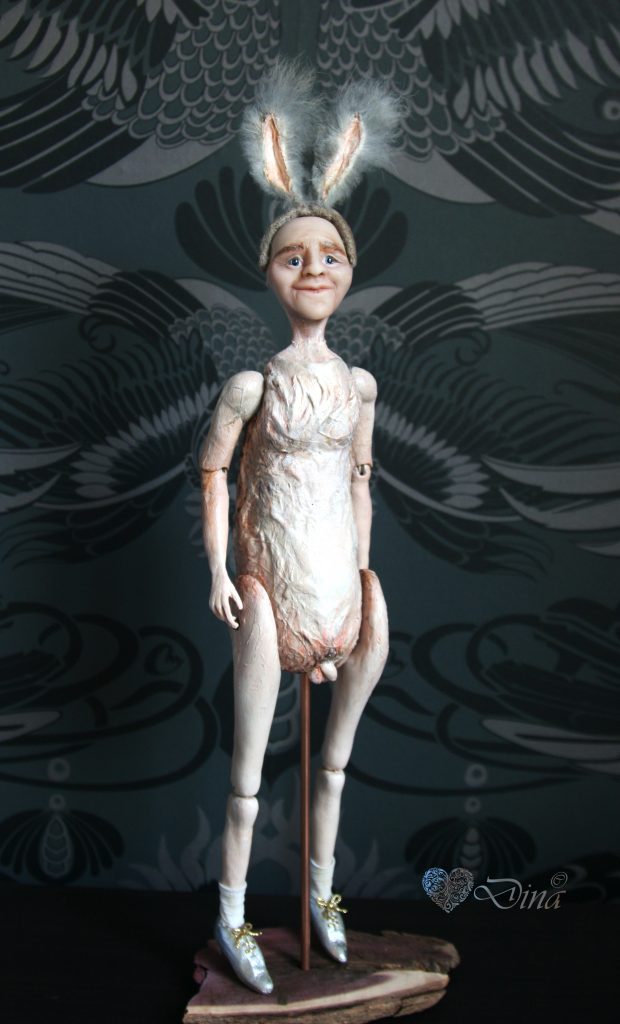
Experimenting with mixed clays – Kato polyclay head, Premier airdry clay body, Apoxie clay arms
Apoxie Clay – my long time favorite, 2-pack super strong, sticky clay. I have been using Apoxie clay for 20 years now and bulk buy it direct from the US in white, natural and black. As my sculpting in the past has required maximum durability on furniture, mosaics and outdoor objects the apoxie mix is unbeatable in this regard. It is a royal pain in the arse to work with though and takes considerable experience as the clay changes properties over its limited 3 hours working time and becoming impenetrable by 24 hours. For my mini-sculpture I used the Apoxie clay for the ball-jointed arms wanting the durability to play and have hollowed for elastic and confident of its strength without armature. The down side is painting the clay afterwards, being so hard paint doesn’t adhere so well and rubs off with abrasion on the joints fairly quickly. I also find any brushed paints never get the smoothness so you need to compensate for this in your design.
I love Apoxie clay, always have, but for the beginner its tough going as a sculpture medium and best used for strengthening armature only.
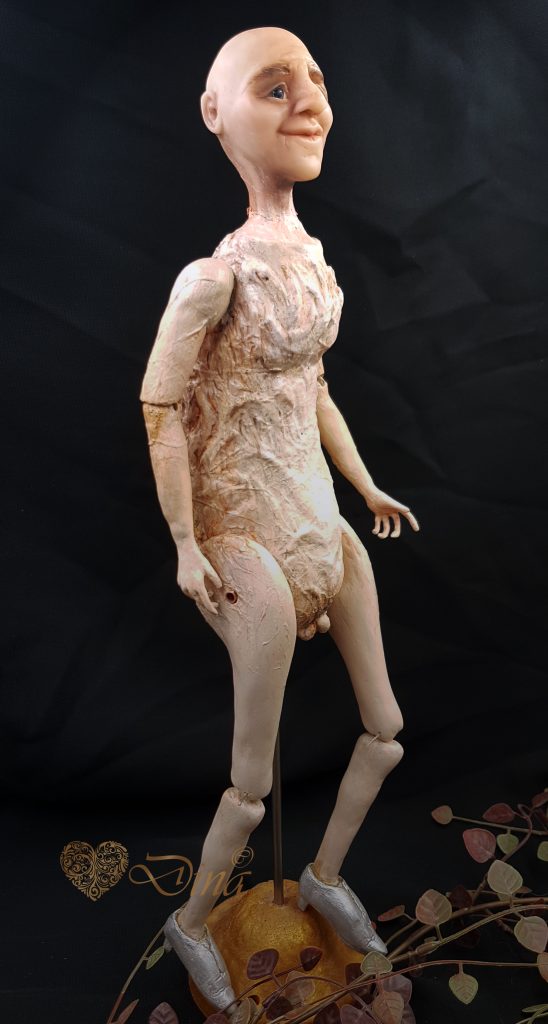
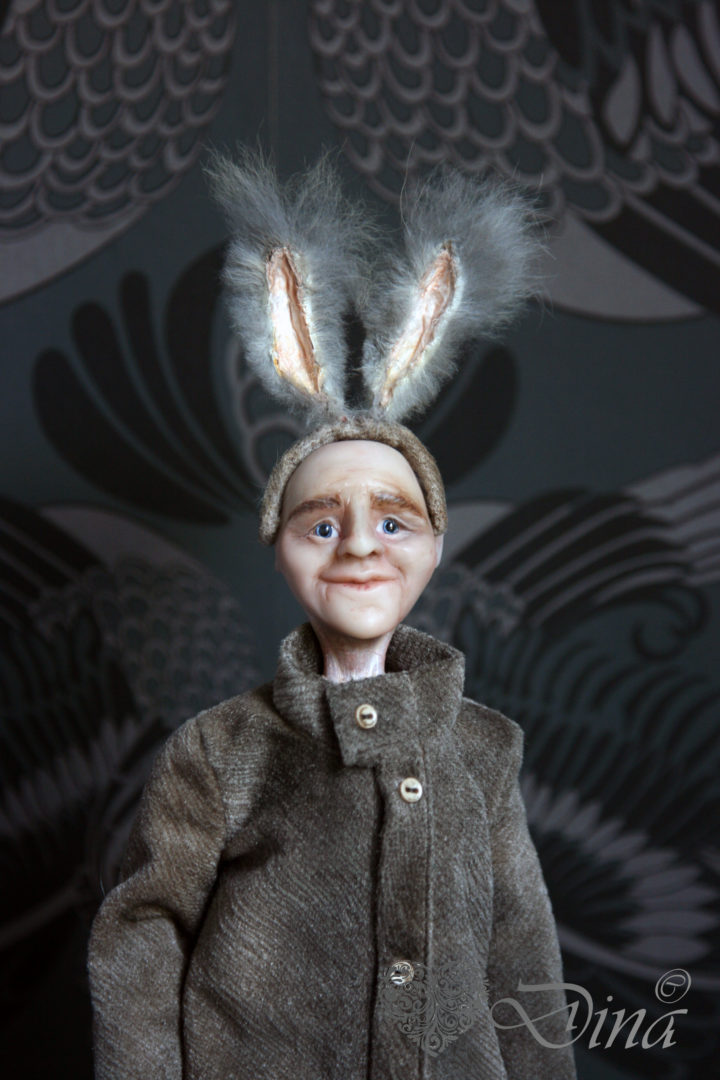
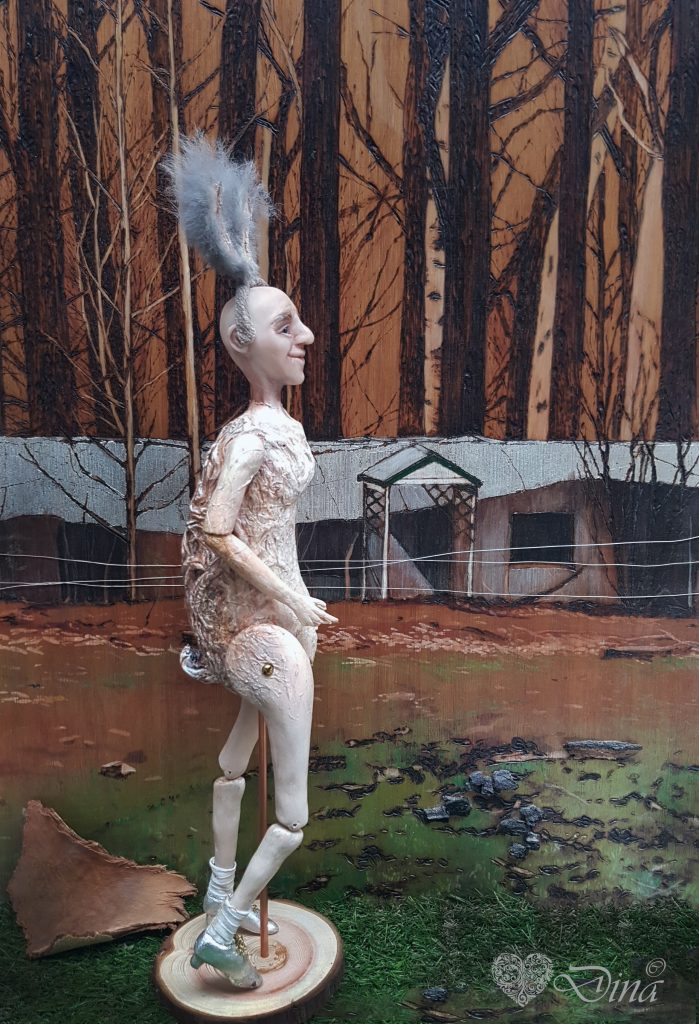
Above: RabbitMan is still work-in-progress as I start to add the legs and build up the painted finish.
So that ends my experimenting with clay story, hope it helps you along the way too. I am delighted and this is the start of the rest of my artist career .. yahooo me!!
The result is my finished RabbitMan below!
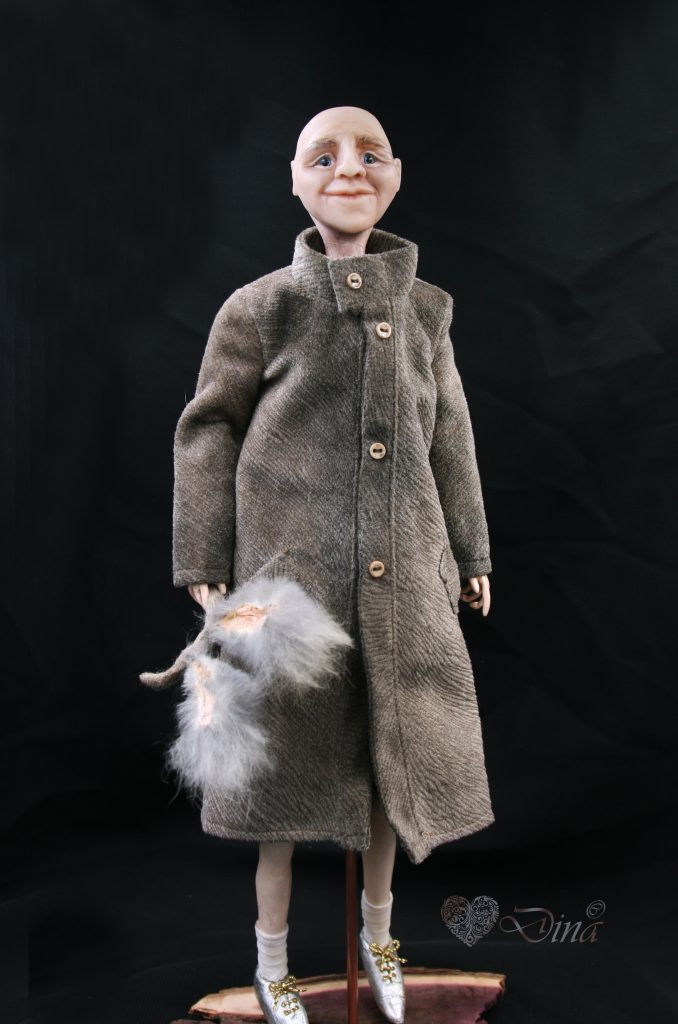
My vision was create a gentle old man on the outer skin even though he is wearing silver high heels.
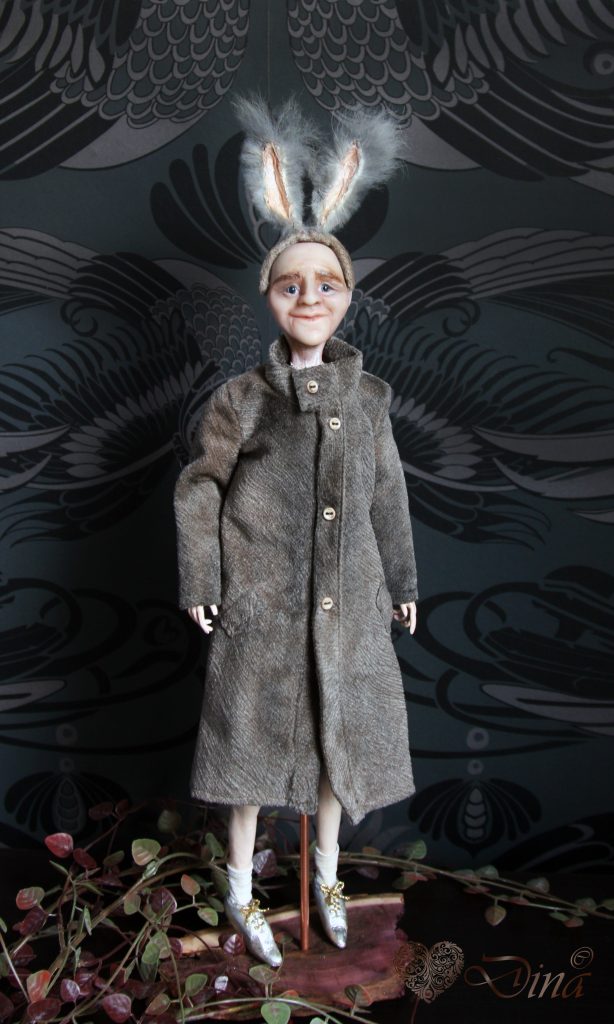
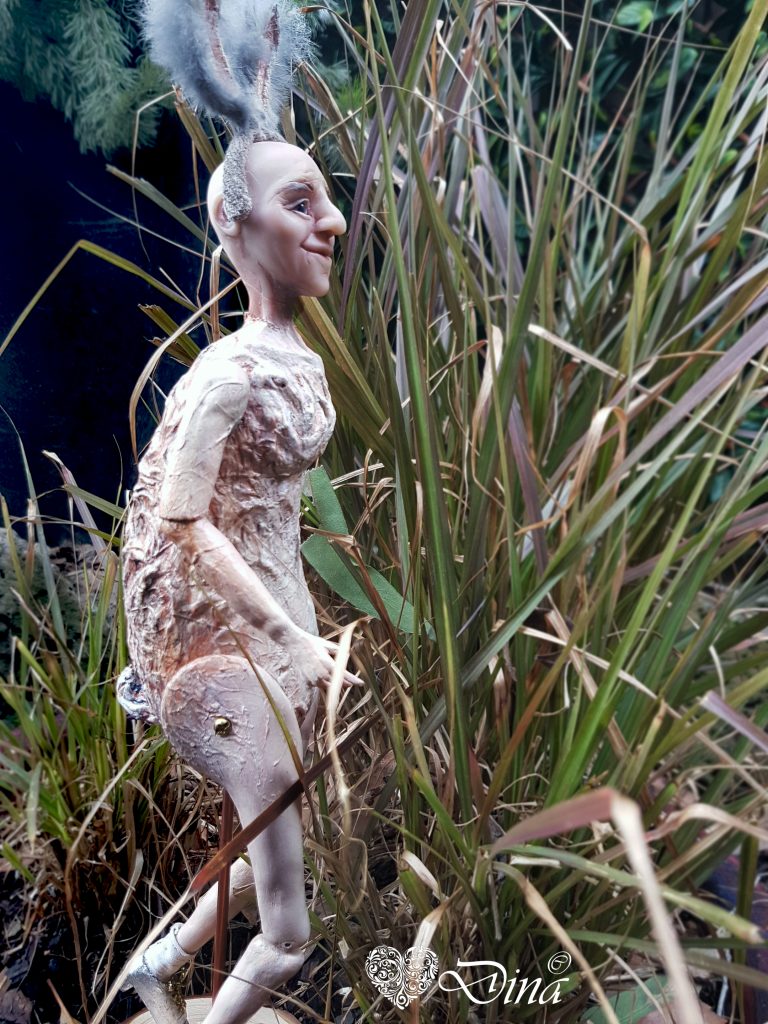
But he is actually a strange hybrid under his furry coat.
You begin to wonder if all is sane here.
But taking photos is always lots of fun!!
Always the artist
Dina